The Praxic Blade is a new weapon you can get as part of the Renegades expansion in Destiny 2, but it requires you to complete a mission and work to get all of its upgrades.
Literally speaking, this weapon is pretty much just a Star Wars lightsaber. So, you can imagine just how fun it is to slash foes with! Unlocking it, though, isn’t very fun as it requires you to complete a pretty tough mission.
Fret not, though! Our guide will help you get this weapon with ease!
How to Get The Praxic Blade – Mission Guide & All Upgrades | Destiny 2: Renegades

To unlock the Praxic Blade, you’ll need to progress through the main campaign of the Renegades expansion. More specifically, you want to reach the “Fire and Ice” mission. Completing that mission will reward you with the Praxic Blade.

At the very start, the mission is very straightforward. You have a linear path in front of you, full of enemies to take out. For now, you just need to press onward and follow the path while taking out every enemy on your way!
Eventually, you’ll reach a room with an encounter featuring a Portal Keeper boss. Take that boss out and you’ll be able to use the portals in the room to proceed.

Now, here’s where things start to get a bit trickier. You’ll now be in a room with a bunch of Blights. First grab the Imbalanced Octant. Then, you want to jump onto the tall pillar in the center.
The pillar has a hole at the very top, which allows you to drop down to the next section of the mission. So, just jump in!
After jumping down, you’ll reach an outdoor location where you have to deal with a wall with bumpers that knock you off. It is also at this point that you can reach a secret entrance that can greatly speed up the mission when used.
To reach the secret entrance, we recommend following the clip above. You’ll need to jump across some ledges along the walls’ exteriors. Reaching this entrance will allow you to skip a fairly obnoxious jumping puzzle section, which saves a decent amount of time.
Back on the Main Path and Blights Puzzle
By this point, you’ll be back on the main path of the mission. No more skipping now, sadly. In this next section, you want to follow the path set by the floating cubes as you take out the Taken along the way.
Since it can be pretty hard to tell where exactly to go in this section, we highly recommend following the route shown in the clip above. It’ll take you to a terminal to place the Imbalanced Octant in. Interact with to open a portal to the next section.
After you go through the portal, you’ll end up in a puzzle arena. In here, you’ll need to “balance the scales” to proceed.
What that means is that you need to kill the enemies and grab their energy. Then, throw it to the matching Blights (energy balls) in the arena. Which energy you get depends on how you kill the enemies, as follows:
- Paired Energy – Kill two of the same enemy type consecutively. Throw this into a Light Blight.
- Opposite Energy – Kill two different enemy types consecutively. Throw this into a Dark Blight.
There are 4 Blights spread around the arena’s corners, two Light Blights and two Dark Blights. You need to take turns throwing energies into the different Blights until all of them are full and balanced. Do not throw more than two energies into a single Blight at a time, as it will unbalance it.

Once you’ve done this correctly, the Blights and the enemies will all disappear. This will allow you to use the altar in the center of the arena to calibrate the Octant to Balance, so do so.

Then, just use the only available portal to go to the next section. Use the Balanced Octant you’ll appear in front of, and you’re done with this section!
Disciple of Harrow

At this point, there are no more real puzzles left for you. There are also no maze-like sections! You just need to follow the light towards the far door at the opposite end of the Ascendant Plane. It’s a pretty linear path this time around, for a change.

Next up, you’ll need to face the Disciple of Harrow boss. This is a pretty standard boss fight for the most part, so you just need to fight it normally.
Eventually, though, the boss will cover himself with a dark shield for its final 4th of health. You’ll need to use the Dark Blights around the arena to dispel the shield and finish the fight!
The logic here is the same as before, thankfully. You just need to kill two different types consecutively to generate Opposite Energy. Then, grab it and chuck it into the Dark Blights across the arena.
Additionally, you can use the Octants on the terminals on the floating platform at the top of the arena to spawn enemies. One summons Taken while the others summon Imperium, allowing you to get Opposite Energy easily.

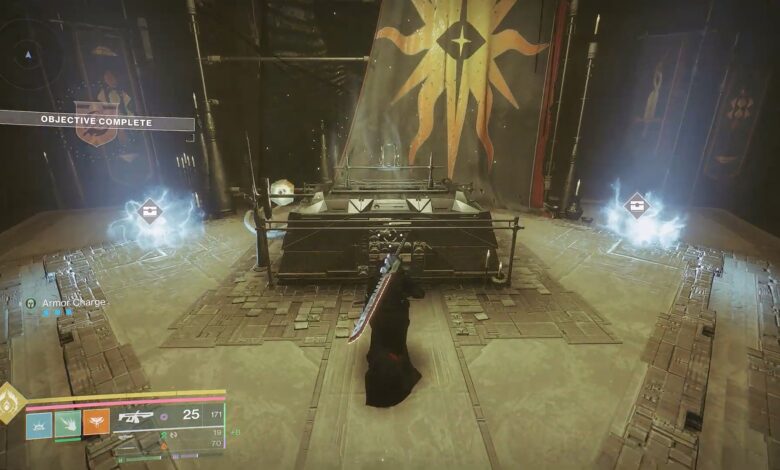
Once you dispel the boss’ shield, just finish it off and you’ll be automatically teleported into a vault. Approach the altar at the center of the vault to claim the Praxic Blade and you’re all done! This Exotic blade is now all yours!
That’s all there is to it, at least for the blade itself. But there are some upgrades you can get for it as well, so let’s go over those quickly.
Praxic Blade Upgrades
Mods

- Crystal Strength – Increases Charge Rate. Unlocks through Totality Division.
- Grip – Increases Guard Resistance and Guard Endurance. Obtained through the Pikers.
- Blade Ammo – Increases Ammo Capacity. Get it through Syndicate rewards.
- Invigorating Blade – Charge Rate +6 / Guard Resistance +6. Found in the “Equilibrium” dungeon.
- Forceful Blade – Improves Impact. Get it through Tharsis Reformation.
Catalysts

- Echoing Blade – Makes your Praxic Blade hit more targets when thrown.
- Unlock: Find and destroy all 7 Taken Blights (Oddities) hidden in the Fire and Ice mission.
- Hyperblade – Amplifies you after you successfully reflect a projectile.
- Unlock: Reach the “Balance the Scales” section of the Fire and Ice mission.
- Instead of balancing the Blights, fill them up one at a time to spawn Imbalance Wardens. Defeat them to spawn a Catalyst of Imbalance. Defeat this boss and finish the mission to get the Catalyst.
- Upper Hand – Increases damage of thrown blade and reflected projectiles when you’re above your target.
- Unlock: Once you flip the Ascendant Plane in the Fire and Ice mission, backtrack to the start of the mission and destroy two new oddities there.
- Then, fill the two new Light Blights in the final boss’s arena and finish the fight to get the Catalyst.
And with that, now you know the gist of how to get the Praxic Blade and all of its various upgrades in Destiny 2: Renegades! We hope you have fun with this nifty lightsaber.
Source link