Wuthering Waves has no shortage of flashy combat and big story moments, but every once in a while, it sneaks in a side quest that hits way harder than expected. Return to Light is one of those quests. On paper, it’s just about collecting stickers from a few camps. In reality, it’s a quiet, emotional side story tucked away in Fangspire Chasm that leaves you staring at your screen for a bit longer than planned.
This guide walks you through exactly how to unlock Return to Light, where to find every camp and sticker, what happens at the end, and all the rewards you’ll earn along the way.
How to Start the Return to Light Quest
To begin Return to Light, head to Fangspire Chasm, just west of Dawnship Fjord. You’ll find a small cluster of tents on elevated ground. Climb up the nearby stairs and look for a tent with a young girl named Misha inside. Talking to her immediately starts the quest, with no Union Level requirement at all.
Misha explains that she’s waiting for her mother and asks you to help collect Soliskin stickers scattered across nearby camps. That’s your cue that this “simple” side quest might not stay simple for long.
First Sticker Near Misha’s Tent
Before heading anywhere else, circle around the left side of Misha’s tent. Lying on the ground is the first Soliskin sticker, which you can pick up immediately. This also subtly teaches you how the rest of the quest works: stickers don’t always show on the map unless you’re close enough.
First Camp: Two Stickers and Your First Fight
The first camp is located slightly northwest of Misha’s position, roughly between her tent and Ribcage Bends. As you approach, the sticker markers finally appear.
This camp is guarded by enemies, so you’ll need to clear them out first. One sticker is found on the ground-level camp area near a tent, while the second is higher up on the large central structure. Interact with the golden wall to scan it. Once you grab both, you’re free to move on.
Second Camp Near Ribcage Bends
The second camp sits just north of Ribcage Bends and is much simpler. After dealing with the enemies in the area, check the left side of the main tent to find the sticker. This one contains an important letter tied to Misha’s mother, hinting that the story is heading somewhere heavier than expected.
Third Camp Southeast of Startorch Academy
This is where the quest ramps up a bit. Travel southeast of Startorch Academy, where the third camp is tucked under cliffs and higher structures.
One sticker is found on the roof of a large tent. Use the nearby grapple to launch yourself up and scan it. The second sticker is on a tall structure guarded by enemies. Climb around the back, and you’ll spot it near a bird’s nest. Once both stickers are collected, you’ll immediately be attacked by Outcasts, so be ready for a fight.
Fourth Camp Near Spacetrek Observatory
The fourth camp is located southeast of the Spacetrek Observatory in Giant’s Gaze. It’s positioned on elevated terrain, so you may need to use a combination of climbing and bike movement to reach it.
There’s only one sticker here, located on the right side of the tent. Two Outcasts guard it, so clear them out before scanning the sticker safely.
Fifth Camp and Final Sticker
The final camp is found just north of the Spacetrek Observatory, very close to a Resonance Beacon. This one’s mercifully straightforward. Walk up to the tent, scan the sticker on its right side, and you’re officially done collecting all eight Soliskin stickers.
Returning to Misha and Passing Time
Head back to Misha’s tent and give her all the stickers, along with the note you discovered earlier. She thanks you and asks you to come back one day later. Use the in-game time skip feature to pass a day, then return to her camp.
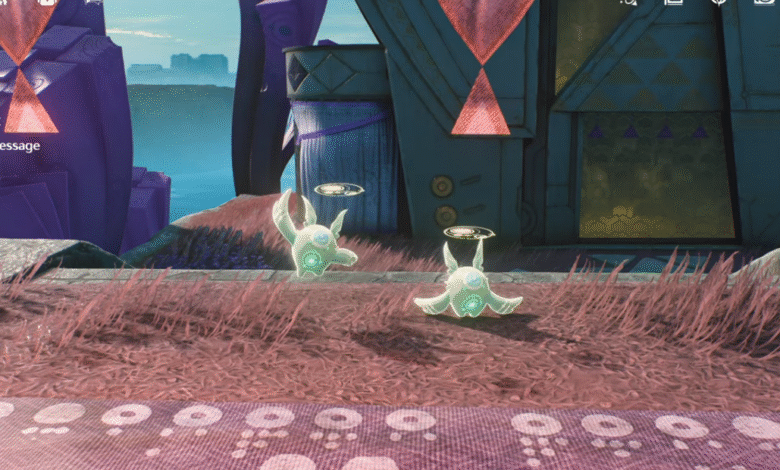
When you arrive, things feel… different. Four Soliskins are standing around, and Misha herself is nowhere to be found. Interact with the table to read Misha’s message, which reveals that she has passed on to reunite with her mother.
A short cutscene plays where two familiar Soliskins wave goodbye as Rover quietly comments that they look familiar. No combat, no dialogue choices, just a soft emotional gut punch to close the quest.
Quest Details and Rewards

Return to Light was introduced in Version 3.0 and takes place primarily in Fangspire Chasm. There’s no Union Level requirement, making it easy to miss early on if you’re rushing content.
Completing the quest rewards you with 300 Union EXP, 30 Astrites, 20,000 Shell Credits, and two Advanced Energy Cores. You’ll also receive the Studious Soliskin Sticker, which can be used to decorate your Expedition Motorcycle. Some versions of the reward pool also include the Paper Soliskin: Sweet Misha Trophy, making this quest both emotionally and cosmetically memorable.
Final Thoughts
Return to Light is one of those side quests that quietly sticks with you long after it’s over. It starts off feeling like a simple sticker hunt, then slowly turns into a soft, emotional story that reminds you Wuthering Waves isn’t just about combat and builds. If you’re the kind of player who enjoys environmental storytelling and bittersweet endings, this quest is absolutely worth doing at least once.
And once you’re done wiping away the emotional damage and heading back into combat-heavy content, it’s a good time to optimize your team again. If you pulled Lynae in Version 3.0 or are thinking about using her more seriously, check out our Wuthering Waves: Lynae Guide, including her best builds & more, where we break down how to get the most out of her Spectro kit, team buffs, and sub-DPS potential.
She pairs incredibly well with exploration-heavy gameplay like this quest, especially when you want smooth fights without slowing down your momentum.
Side quests for the feels, optimized builds for the grind, that’s the Wuthering Waves loop at its best.
Source link